Capturing Reflections and Symmetry in Photography
Photography allows us to see the world from different perspectives, capturing moments that the naked eye might miss. Reflections and symmetry in photographs create depth, intrigue, and beauty, enhancing both the technical and artistic quality of a photo. In this article, you will discover techniques to capture striking reflection shots, from choosing the right location to fine-tuning your camera settings. We will also discuss essential equipment considerations and explore post-processing methods to perfect your images. Whether you’re a seasoned professional or an enthusiastic beginner, these insights and tips will help elevate your reflection photography to new heights.
Taking Good Reflection Photos is Both Challenging and Rewarding
Capturing reflections in photos is a delicate balance of art and science, where precise timing and perfect conditions play crucial roles. Reflection photography requires mastering the interplay of light and environment to produce captivating images that resonate with viewers. The elements need to align just right for that perfect shot, often challenging photographers to seek patience and creativity.
Symmetry adds another layer of visual appeal, allowing photographers to play with balance and composition. Mastering the capture of symmetry alongside reflections demands a keen eye and attentive planning. However, the results can be immensely rewarding, providing photos that are not only visually harmonious but also thought-provoking.
Find Still Water
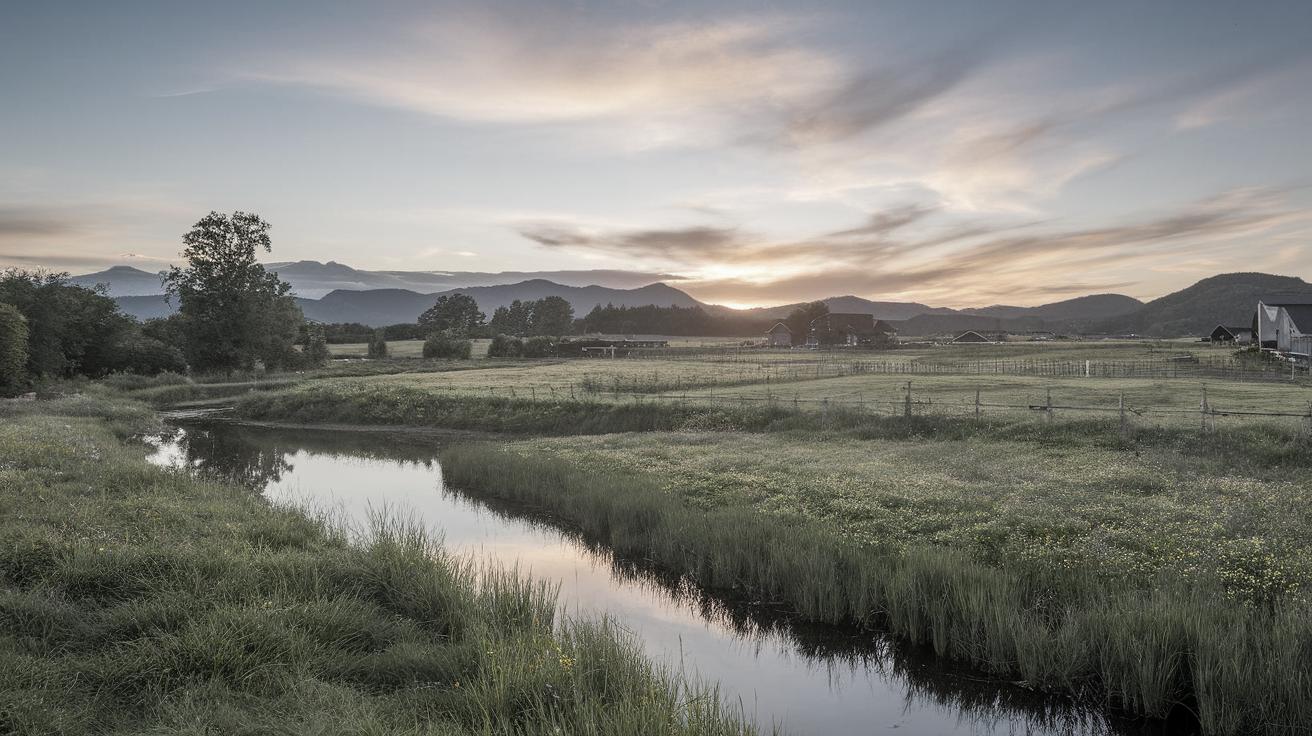
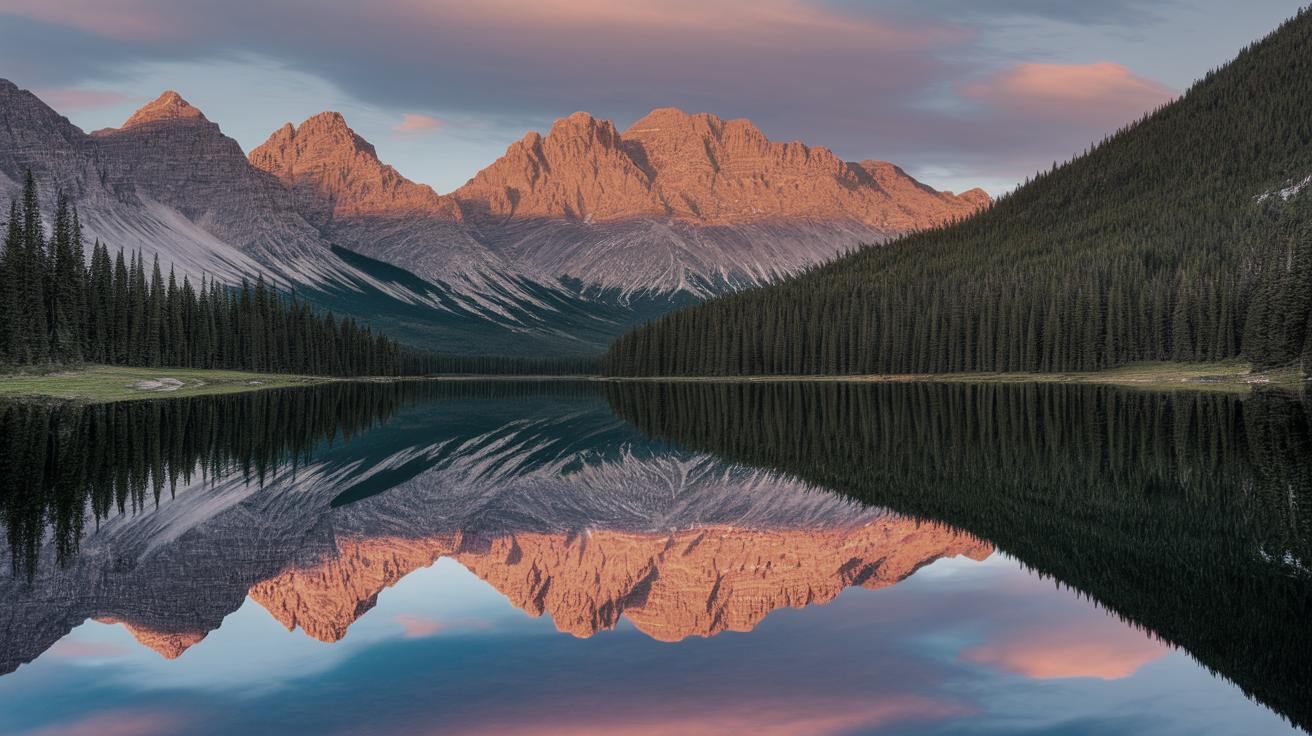
One of the most effective and commonly used methods for capturing reflections in photography is seeking out still water, such as lakes, ponds, or even puddles. These natural mirrors provide a perfect surface that beautifully reflects the subject above it. Early mornings or late evenings are particularly ideal since the air is often calmer, reducing water disturbance and enhancing mirror-like reflections.
It’s essential to explore different perspectives when you’re near still water. Changing your position slightly can sometimes reveal a more compelling composition. Pay attention to the light and how it interacts with both the reflective surface and the objects around it. Additionally, consider experimenting with various angles to amplify the symmetry in your compositions.
Equipment Considerations
While reflection photography doesn’t strictly require specialized equipment, certain tools can drastically enhance your results. A tripod is invaluable, especially in low-light conditions, ensuring stability to capture the finer details without the blurriness of a shaky hand. A polarizing filter can also be exceptionally effective in controlling reflections, providing greater saturation and contrast by reducing glare from surfaces.
Wide-angle lenses are often favored for capturing expansive reflections and playing with symmetry. However, a telephoto lens can also be instrumental in isolating specific parts of the reflection, thereby adding a layer of abstraction or focus to the photograph. Understanding your camera gear and its possibilities is key to leveraging its full potential in capturing reflections and symmetry.
Camera Settings
Mastering manual mode is crucial when capturing reflections and symmetry, as it provides control over exposure and depth of field. A higher f-stop (around f/8 to f/11) will enhance the sharpness across the entire field, making both the object and its reflection crisp. Adjusting the ISO is also vital to handle the varying lighting conditions, ensuring a noise-free image.
Shutter speed plays a critical role, particularly when dealing with surfaces of water. To achieve smooth and serene reflections, a slower shutter speed can effectively capture the tranquility of water or clouds. However, be cautious, as slow shutter speeds require a steady hand or a tripod to prevent unwanted blur.
On-Location Tips and Considerations
Always arrive on location early. The golden and blue hours—the time shortly after sunrise and before sunset—offer superb natural lighting conditions that enhance colors and contrasts, bringing reflections and symmetry to life. Scout the area thoroughly to find unique vantage points and leverage natural lines to guide the viewer’s eye.
It’s important to embrace the elements. Sometimes, rain or fog can introduce a dreamlike quality to your photos. Also, don’t shy away from creating reflections artificially; adding water to surfaces can sometimes add intriguing compositions that might have been overlooked otherwise.
Post-Processing Tips
Once you’ve captured your photos, post-processing plays a pivotal role in enhancing the final image. Software like Adobe Lightroom or Photoshop offers various tools to adjust contrast, brightness, and colors, bringing out subtle details within reflections. Despite the temptation, strive for a natural look; overly dramatic enhancements can sometimes detract from the essence of the shot.
Consider experimenting with cropping and alignment tools to finesse the symmetry in your photographs. Mirroring techniques can also be fun to explore, adding an artistic flair to your work. Lastly, use selective editing to highlight core parts of your photo that tell the strongest story.
Related Articles
If you’re keen to delve deeper into the art of photography, explore our collection of related articles. For example, “Mastering the Art of Long Exposure Photography” touches on techniques that can enhance your reflection photography by making the most out of available light and exposure settings.
Another recommended read, “Understanding Composition in Photography”, goes hand-in-hand with shooting reflections and symmetry by guiding you through principles like the rule of thirds and leading lines, crucial for creating balanced and engaging images.
Lessons Learned
| Topic | Key Takeaways |
|---|---|
| Reflection Photography Challenges | Requires patience, perfect conditions, and a balance of light and environment. |
| Finding Still Water | Ideal conditions in the early morning or late evening; explore perspectives and light. |
| Equipment | Tripod and polarizing filter essential; wide-angle and telephoto lenses provide versatility. |
| Camera Settings | Master manual mode; use higher f-stops and control ISO for noise-free images. |
| On-Location Tips | Arrive early for the best light; embrace elements like rain or create reflections artificially. |
| Post-Processing | Enhance images naturally, experiment with cropping and alignment, and explore mirroring techniques. |