Unlocking the Artistry in Silhouette Photography
Capturing a silhouette is much like weaving a mysterious tale with your camera. It’s an art form that showcases the dramatic contrast between light and shadows. Silhouette photography emphasizes the shape of your subject, powerful without explicit detail. In this guide, we will explore everything from equipment essentials to location scouting to the final editing techniques. Whether you’re wielding a DSLR or an iPhone camera, these tips and tricks will set you on the path to mastering the art of silhouette photography. Read on to discover the intricacies of capturing and enhancing these striking images.
Have the Right Equipment
1. DSLR Camera
A DSLR camera provides you with comprehensive manual control, which is paramount in silhouette photography. The ability to adjust settings such as exposure, aperture, and ISO manually allows you to fine-tune your camera to your needs. While a high-end DSLR isn’t strictly necessary, having one that can handle low-light situations and shoot in RAW format affirms quality and flexibility.
Invest in a camera that fits comfortably in your hands and meets your photography requirements. Consider reputable brands like Canon, Nikon, or Sony, which have various offerings suitable for both beginners and professionals. A camera with a high dynamic range can help in capturing the subtle tones in both shadows and highlights.
2. Lens Hood
Using a lens hood is practical for reducing lens flare, which can occur when shooting towards the light source, a common scenario in silhouette photography. Lens flare might add an artistic touch, but it often distracts from the sharp lines needed for a clear silhouette.
This simple accessory helps in maintaining contrast while protecting your lens. An adequately sized lens hood matching your lens’ specifications will go a long way.
3. Filter
Filters can enhance your photographs by controlling light in various ways. Polarizing filters reduce reflections and enhance colors, which can be beneficial when photographing during the golden hour. Neutral density (ND) filters, on the other hand, help manage bright environments, especially when longer exposure times are needed.
Experimenting with different filters can open doors to creative silhouette compositions and increase the range of possible lighting conditions you can shoot in.
4. Tripod
Stability is crucial in low-light situations, making tripods invaluable. A sturdy tripod reduces the risk of blurry images, crucial when frames are focused on sharp contrasts like silhouettes.
Choose a tripod that’s lightweight for easy carrying but robust enough to withstand environmental conditions. Tripods with adjustable legs and heads also allow for diverse perspective capturing.
5. The Right Lens
Wide-angle lenses (16-35mm) are fantastic for expansive scenes and creating an immersive silhouette image. They allow you to capture sweeping vistas with your subjects placed against a grand natural backdrop.
A 50mm prime lens is similarly advantageous for capturing simpler compositions with a more pronounced subject. Using a lens with a wider aperture helps to creatively manage background blur and light intake.
Must Haves
Beyond physical equipment, essentials like batteries, memory cards, and lens cloths are critical to ensure uninterrupted shooting. Always carry extra batteries and spacious, high-speed memory cards, especially when planning to capture multiple shoots at various timings.
Additionally, having a basic understanding of the fundamental principles of photography, including exposure triangle and composition rules, is crucial for creating compelling silhouettes.
Finding the Right Sky for Silhouettes
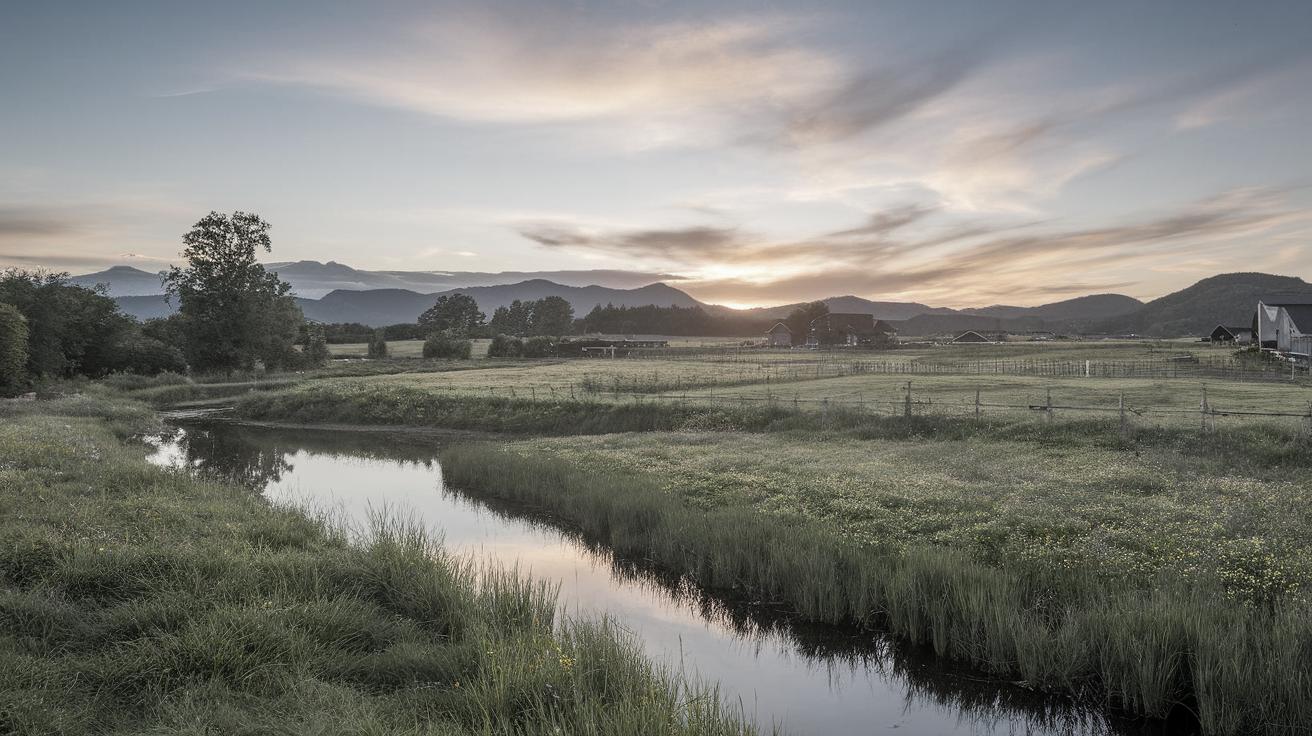
Your sky choice can make or break a silhouette photo. Ideally, look for clear skies with an interesting color gradient during golden hour—just before sunset or right after sunrise. The sky’s hues then can dramatically enhance the visibility of your silhouette.
Cloudy skies are also advantageous as they add texture to the background. A scattered cloud arrangement can add depth and interest, providing a stunning backdrop for the silhouette.
Silhouettes with Created Light
If natural light isn’t cooperating, creating your own can be a game-changer. Artificial lighting, situated wisely, can provide enough backlight to highlight your subject. LEDs and studio lights positioned effectively can simulate sunset-like backlighting.
Experiment with light placement until you find the perfect backlight that complements the subject. Playing with light temperature and intensity opens creative possibilities for creating unique silhouette effects.
Find an Ideal Location
A good location can transform a silhouette photo from mundane to captivating. Scout areas where there is an uninterrupted view towards an open sky. Beaches, hilltops, and open fields often provide excellent conditions for silhouette backdrops.
Additionally, urban environments can also produce spectacular silhouettes against the backdrop of cityscapes during twilight and early mornings when artificial lights blend seamlessly with natural darkness.
Get Your Camera Settings Right
For waiving guesswork, use manual settings when shooting silhouettes. A low ISO keeps noise at bay while a small aperture ensures crisp contours. Meter for the bright background, not the subject, to maintain the dark, shapely allure.
Experiment with your settings by bracketing your shots with varying exposure values to find the one that best preserves the silhouette’s edge starkness against its backdrop.
Metering for Silhouettes
Spot or center-weighted metering modes are preferable when shooting silhouettes. They allow for more emphasis on the lightest parts of your frame, underexposing the silhouette automatically.
Be conscious in choosing the precise spot against which metering is done. Finding the brightest part in the background usually provides the best results, amplifying the contrast between the light and your subject.
Positioning Subjects for Ideal Silhouettes
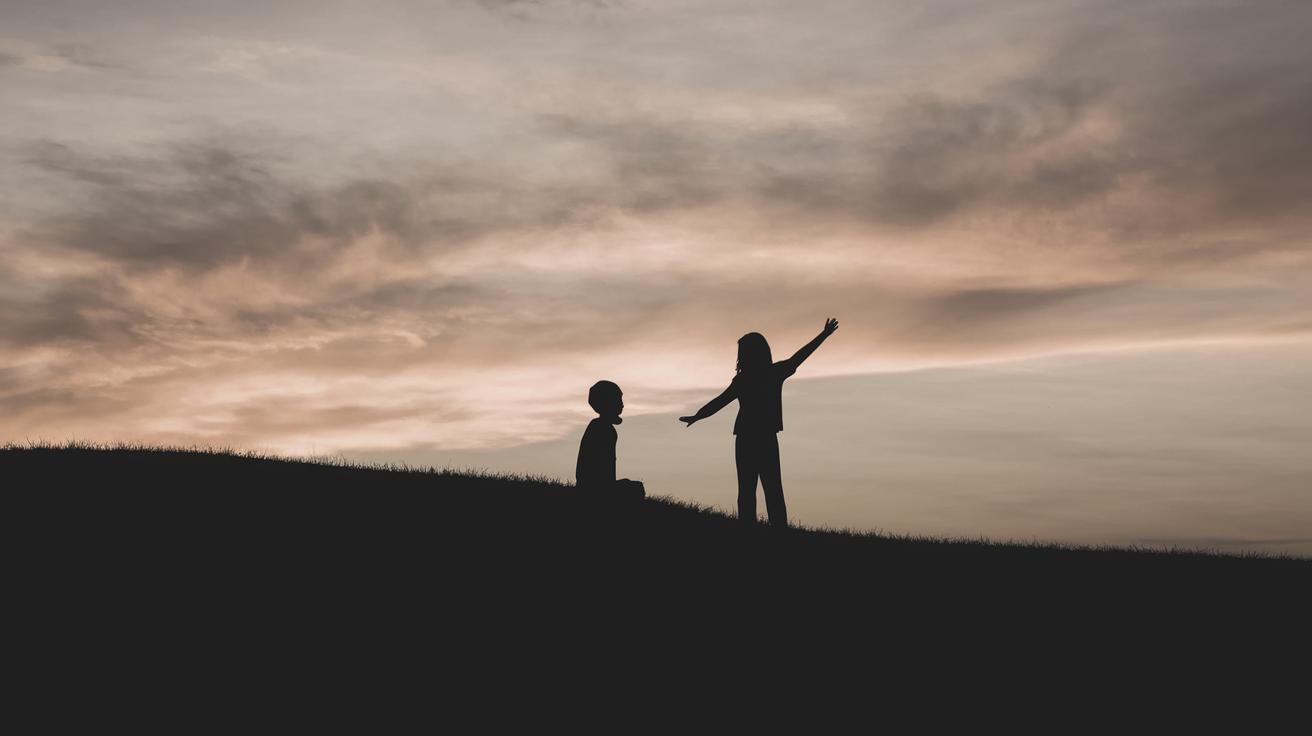
Where you place your subject in the frame can greatly impact the final image. Subjects should generally have distinct, recognizable shapes, and be positioned against a clean background.
For group shots, ensure individuals are distinguishable without overlap. Being mindful of negative space and subject interaction with the environment adds poetic depth to silhouette imagery.
Editing Silhouettes
Post-processing can take your silhouette photographs to the next level. Tools like Adobe Lightroom and Photoshop offer incredible control over exposure, contrast, and shadows while enhancing color richness.
When editing, be cautious not to over-adjust, keeping silhouettes natural and balanced against their backdrop. Increase the contrast to ensure your silhouettes maintain their mystery and grandeur.
Have Fun
Beyond technique, enjoyment is key. Experimenting with different subjects, angles, and lights can bring unique results. This unexplored joy of creativity results in photography that feels more personal and rewarding.
Always aim to innovate with your shots. Try incorporating movement or abstract forms, letting your imagination guide you in creating images that resonate on vivid, storytelling levels beyond traditional confines.