How to Photograph Food That Looks Appetizing
Introduction:
Capturing the essence of food through photography is not just about pressing the shutter button at the right moment; it involves a combination of science and art to create a visual that appeals to the senses. This guide delves into the crucial elements like lighting, composition, and styling that make food look as delectable on camera as it does in reality. You’ll learn about the importance of natural and artificial lighting, how to use basic photography gear, and how to manipulate camera settings like shutter speed, aperture, and ISO to your advantage. We’ll also cover essential steps in post-processing to perfect your food shots. Whether you are a budding food blogger or a professional photographer, these insights aim to elevate your culinary photography to mouth-watering visuals.
Great Natural Light
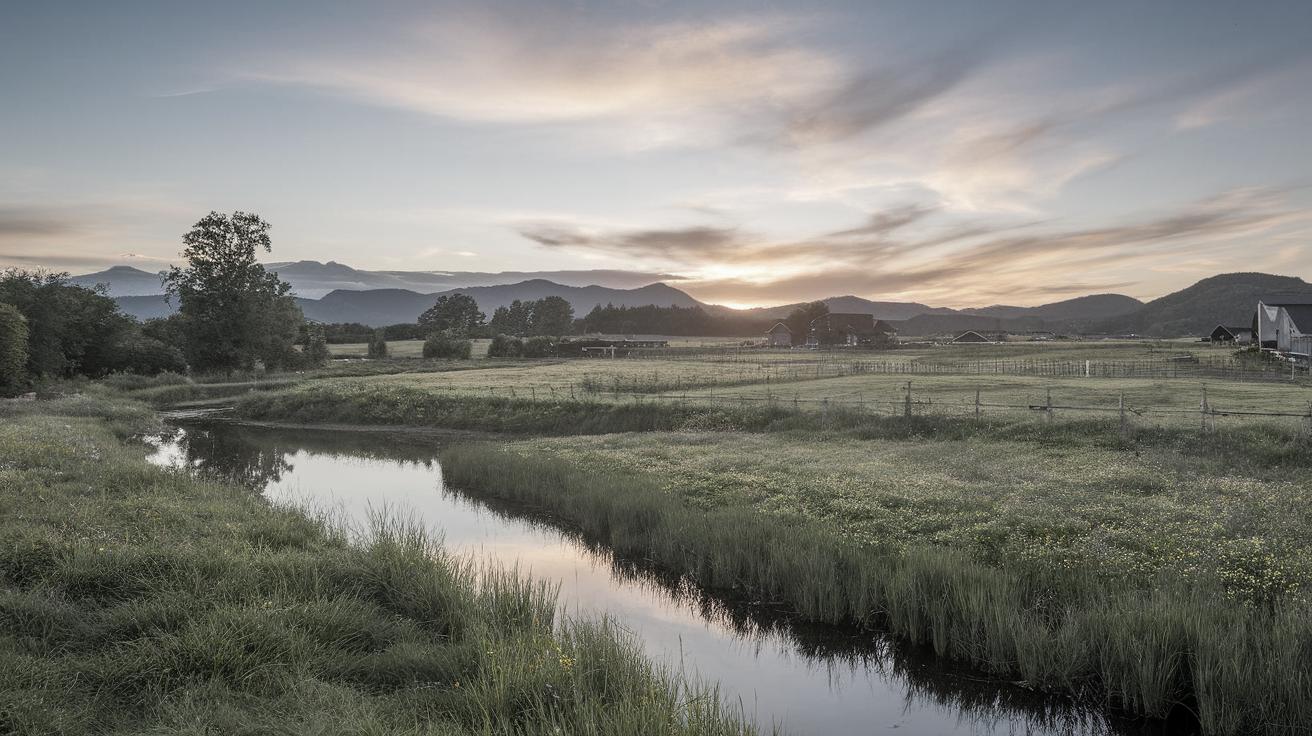
Natural light is one of the most essential elements in food photography. Unlike artificial lighting, natural light provides a softer and more authentic look that beautifully highlights the colors and textures of the food. Shooting near a window or outdoors during the daytime often results in vibrant and inviting images. The best time to capture food with natural light is during the golden hours, just after sunrise and before sunset, when the light is diffused and casts a warm glow.
Understanding how to manipulate available light by diffusing it with sheer curtains or bouncing it with reflectors can also dramatically improve your photos. It’s important to avoid direct sunlight as it can create harsh shadows and overexposed highlights that detract from the food’s appeal. Practice adjusting the angle of your light source and try shooting with the light coming from behind or at a 45-degree angle to add depth to your images.
A Striking Composition
The composition of a food photo can make or break its visual appeal. Using the rule of thirds can help frame your subject in a balanced and harmonious manner. Divide the frame into a grid of nine equal parts, and position the main elements of the dish along these lines or at their intersections. This can guide the viewer’s eyes to the most important parts of the picture and draw them in.
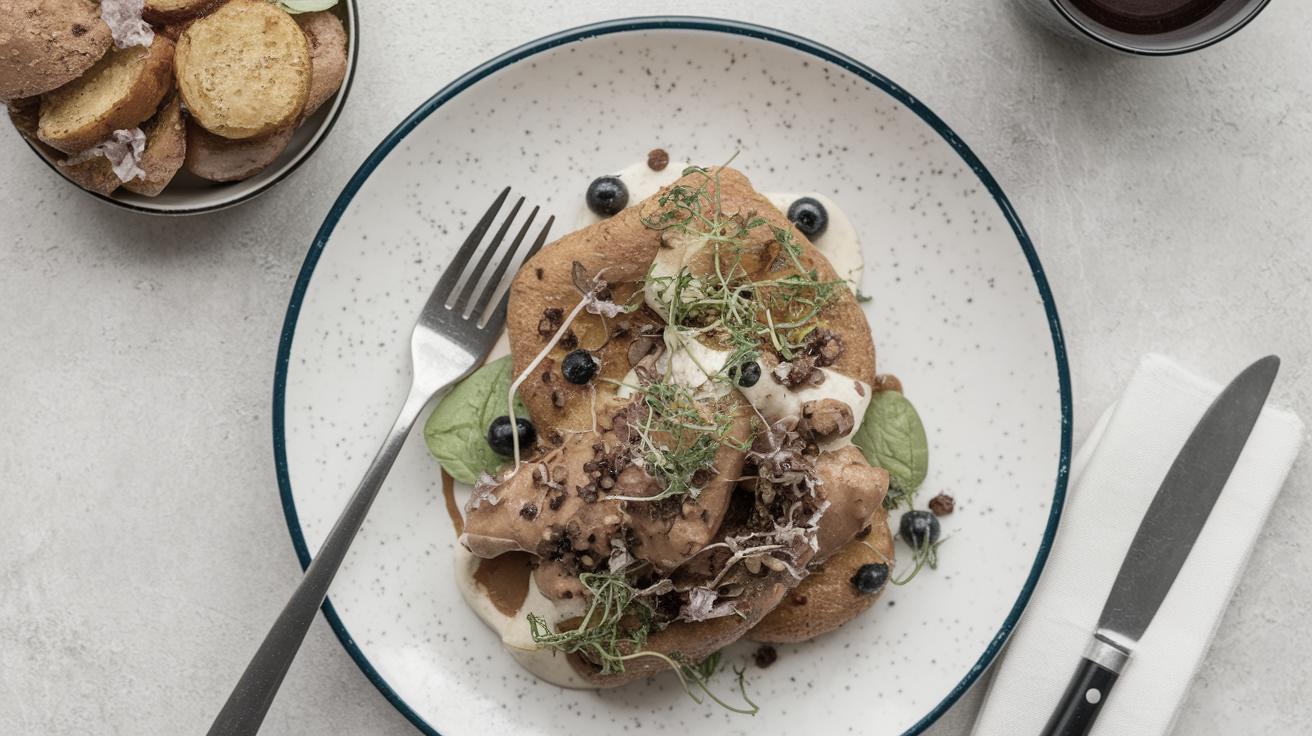
Experimenting with different perspectives also can add interest to your food photography. Shooting from above (a bird’s eye view) is particularly effective for dishes like salads or pizzas that are displayed on a flat surface. For layered foods or taller dishes, consider taking shots at a table-level angle to capture the details in each layer. Think outside the plate by including elements like utensils or textured backgrounds that enrich the story the image tells.
Thoughtful Styling
What Makes a Photo Good?
Good food photography captures both the essence and potential of the dish. A high-quality photo arouses the senses to the point that viewers can almost taste the meal. It achieves a delicate balance between aesthetics and authenticity, where the food looks both delicious and real. Key aspects of good photography include proper lighting, composition, and emotion conveyed through the presentation.
Remember to match the style of the photograph to the mood you want to evoke. A rustic, cozy dish might suit a darker, more intimate style of photography, while a fresh and summery meal might be best captured with bright and vibrant tones. Color contrast is another important consideration, as complementary colors can make the dish stand out more vividly.
Equipment: What Do You Actually Need?
While you don’t need the most expensive camera to take excellent food photos, having the right equipment can make a significant difference. A DSLR or a mirrorless camera with a 50mm or a 35mm lens is often preferred for its ability to capture sharp details and achieve beautiful background blur. However, smartphones equipped with good cameras and manual controls also can yield fantastic results in the right hands.
Beyond the camera and lens, consider having a good tripod to eliminate hand shakiness, a set of reflectors or bounce cards to control lighting, and a small array of props like plates, cutlery, and backgrounds that complement the food you are photographing. This collection of gear will form a solid foundation that allows you to experiment and find your unique style in food photography.
Bounce Card
A bounce card is an effective tool to soften shadows and enhance light without harshness. Typically made from a reflective material like white foam board or aluminum foil, it redirects light back onto the subject, filling in shadows and providing a more even distribution of light. This is particularly useful when shooting on cloudy days or in spaces where natural light is limited.
To use a bounce card, position it opposite the light source, angling it so that light reflects back onto the food. Experiment with the distance and angle until you achieve the desired effect. By using bounce cards, you’ll have greater control over lighting conditions without complicating your setup with additional equipment.
Artificial Lighting
While natural light is often preferred, there are times when artificial lighting becomes necessary, especially in controlled environments like studios or when shooting at night. LED panels or soft boxes offer a reliable light source that can be adjusted for intensity and color temperature to mimic natural light conditions.
When working with artificial lighting, the key is to ensure that it does not overpower or create unnatural shadows on the food. Using diffusers or soft boxes to soften the light, and arranging multiple lights at different angles can help simulate a more natural, appealing look. Toggle between various setups to find the lighting that best accentuates the characteristics of the dish.
Tripod
Utilizing a tripod is crucial for capturing sharp images, especially in low light conditions where a slower shutter speed is required. It eliminates blurriness caused by hand movements and provides stability for long exposure shots. A tripod also allows for precise framing and composition adjustments, enabling you to fine-tune your setup without disturbing the scene.
Invest in a quality tripod that suits the size and weight of your camera. For top-down shots, look for a tripod with a horizontal arm feature. Flexible tripods can offer versatility in unconventional shooting environments or when capturing unique angles and perspectives.
Getting Manual With It
Switching your camera to manual mode unlocks complete control over your photography, allowing you to fine-tune settings like shutter speed, aperture, and ISO for the best results. Understanding how these settings work together will enable you to creatively photograph food in various lighting scenarios and environments.
Manual mode might take some getting used to, but it is well worth the effort. Start by adjusting one setting at a time and observing the impact on your images. Over time, you’ll develop the confidence to manipulate these settings swiftly, enhancing your ability to capture exceptional food photographs consistently.
Shutter Speed
Shutter speed influences how motion is captured in your photo. In food photography, maintaining a sharp focus is typically desirable; a faster shutter speed ensures minimal blur from camera shake or accidental movements within the scene. For handheld shooting in well-lit conditions, a shutter speed of 1/60 or faster is recommended.
Conversely, slower shutter speeds can be employed strategically for stylistic shots, such as capturing steam rising from a hot dish. Remember, when using slower shutter speeds, it’s beneficial to have your camera stabilized on a tripod to avoid unwanted motion blur.
Aperture (F-stop)
Aperture, indicated by the F-stop number, determines the depth of field in your photographs. Lower F-stop values (e.g., f/2.8) create a shallow depth of field, rendering a beautifully blurred background that emphasizes the subject in focus. This is perfect for isolating specific elements of a dish or bringing attention to intricate details.
Higher F-stop values (e.g., f/8 or f/11) provide a broader depth of field, keeping more of the scene in sharp focus. This setting is beneficial for group shots of multiple dishes or when including surrounding elements in the frame. Strike a balance that works best for the story you wish to tell through your image.
ISO
ISO measures the camera sensor’s sensitivity to light. A lower ISO value generally results in cleaner, less grainy images while preserving detail in well-lit conditions. However, indoors or during low-light scenarios, you may need to increase the ISO to maintain proper exposure.
Be cautious with high ISO settings, as they can introduce noise to images, detracting from detail, especially in darker areas. Use the lowest possible ISO for a noise-free image, and if higher settings are necessary, consider further noise reduction during post-processing.
Wait, So What Settings Should I Use?
While there is no one-size-fits-all settings recipe, understanding the basics allows you to adjust based on specific circumstances. Begin with a lower ISO, moderate shutter speed (around 1/60-1/125), and a slightly open aperture (around f/4.0 to f/5.6). Make incremental adjustments until you achieve the desired exposure and sharpness.
Consider your creative goals for the shoot when selecting settings. If emphasizing texture or details, use a smaller aperture (higher F-stop). For moodier, atmospheric shots, opt for a slightly slower shutter or higher ISO and leverage natural lighting to your benefit. Always inspect the histogram and take test shots for fine adjustments during your sessions.
White Balance
White balance ensures that colors in photos appear natural by adjusting for different lighting conditions. Proper settings prevent images from appearing overly warm (yellow) or cool (blue). Most cameras offer preset modes for various environments like daylight, cloudy, or tungsten lighting.
If needed, manually set the white balance using a custom mode or by using a grey card for reference to match ambient conditions accurately. Post-processing also allows for adjustments to fine-tune color balance and correct any discrepancies resulting from mixed lighting environments.
Post-Processing
Post-processing is a crucial step in enhancing your food photography. Editing software such as Adobe Lightroom or Photoshop offers extensive capabilities to refine exposure, contrast, and color balance, bringing out the natural beauty of the dish. Focus on highlighting the food rather than over-editing, which can reduce authenticity.
Begin by cropping and adjusting the composition, then move on to adjustments in brightness, contrast, and saturation. Pay attention to the colors, ensuring they match the dish’s appearance realistically. Use tools sparingly to maintain a natural look, all the while enhancing key details that make the food stand out. Practice restraint and consistency for optimal results.
Final Thoughts
| Aspect | Summary |
|---|---|
| Natural Light | Shoot during golden hours with diffused natural light for the best results. |
| Composition | Use the rule of thirds and experiment with angles and perspectives. |
| Styling | Ensure the photo captures the essence and engage the viewer’s senses. |
| Bounce Card | Use for light diffusion and to fill shadows; position opposite the light source. |
| Artificial Lighting | Use LED panels or soft boxes to simulate natural lighting conditions. |
| Tripod | Essential for stability, precise framing, and to prevent motion blur. |
| Camera Settings | Adjust shutter speed, aperture, and ISO for optimal exposure. |
| White Balance | Set correctly for natural colors; adjust settings based on light conditions. |
| Post-Processing | Edit to enhance exposure, contrast, and colors while preserving authenticity. |