Basics of Astrophotography
Astrophotography combines the art of photography with the alluring beauty of the night sky. As we delve into 2025, photography enthusiasts may find themselves drawn to capturing celestial wonders. This guide covers the basics that beginners need to start their astrophotography journey. From equipment essentials like tripods and camera settings, to navigation of shooting modes and managing ISO sensitivity in low light, this article provides a comprehensive overview. Whether you’re aiming to capture the Milky Way or the ethereal glow of distant galaxies, understanding these fundamentals will enrich your astrophotography experience and elevate your celestial captures.
Astrophotography for Beginners 2025
Astrophotography has increasingly become accessible to more photographers, thanks to technological improvements in cameras and lenses. As we embrace the opportunities 2025 brings, aspiring astrophotographers can capture stunning visuals of the night sky with the right knowledge and equipment.
Understanding how to photograph the night sky requires a blend of technical know-how and creative vision. This guide aims to equip you with the basics, ensuring you are well-prepared to capture the cosmos from your backyard or a remote location.
Tripod (Essential)
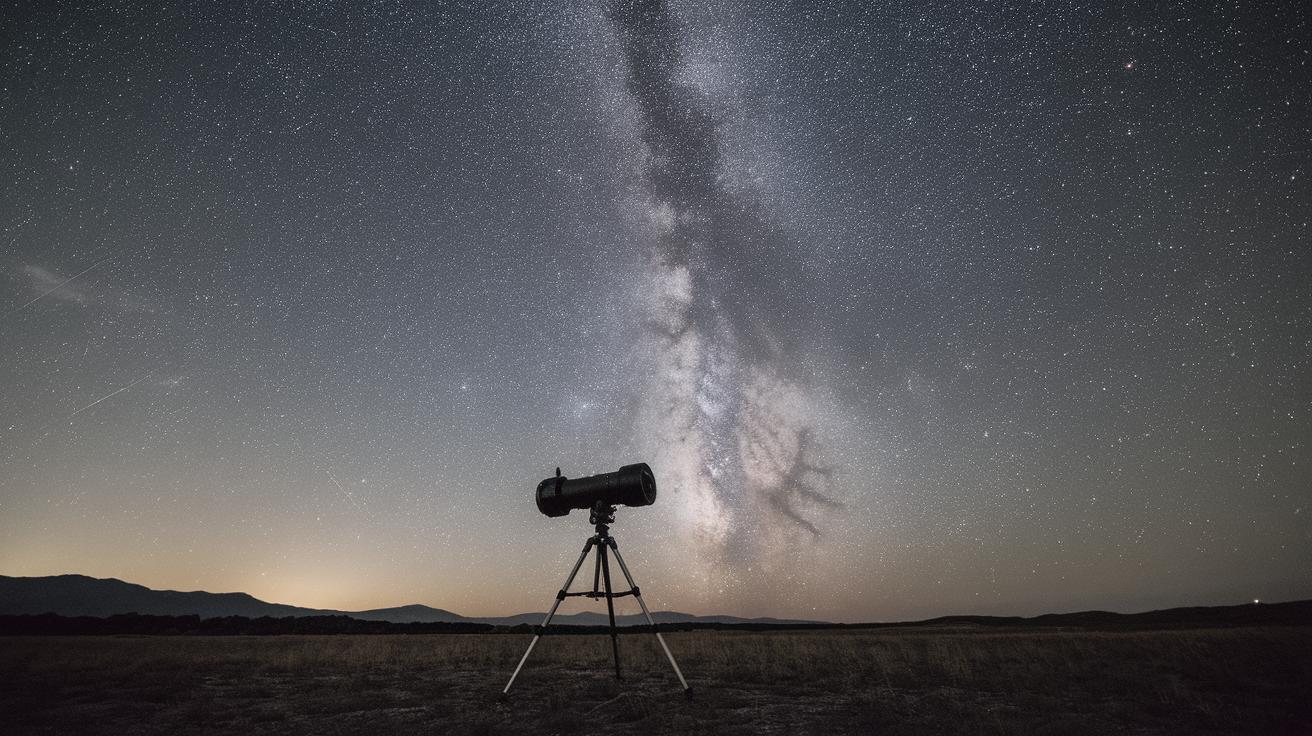
A sturdy tripod is a critical component in astrophotography. As night sky photography involves long exposure times, any movement of your camera will result in blurry images. A tripod keeps your camera stable, minimizing any shake that can occur during exposure.
When selecting a tripod, focus on durability and height adjustability. Consider the terrain you’ll shoot in and how easily you can transport it to different locations. Carbon fiber tripods are preferred by many photographers due to their sturdiness and portability.
Remote Shutter Release (Recommended)
Using a remote shutter release minimizes the risk of camera shake, which is crucial when dealing with long exposure photography. This tool allows photographers to trigger their cameras without physical contact, resulting in sharper images.
Whether you choose a wireless or wired remote, ensure it is compatible with your camera model. Some modern cameras also offer smartphone apps that perform remote shutter functions, blending convenience with technology.
Intervalometer (Optional)
An intervalometer is a useful tool for shooting time-lapse sequences or capturing images over a period without manually resetting your camera. Although not mandatory for all astrophotography, it enhances your ability to document celestial events.
This device can be a separate gadget or a built-in feature in some cameras, and allows for precision in controlling shutter speeds and shooting intervals, critical for projects involving star trails or other dynamic celestial movements.
Headlamp
Astrophotographers often work in very dark conditions, making a headlamp an invaluable tool. This hands-free lighting helps you navigate your equipment and surroundings without disturbing the camera setup.
Opt for a headlamp with a red light mode, as red light preserves your night vision, allowing your eyes to remain adjusted to the dark while checking camera settings or making adjustments.
Location
Choosing the right location is pivotal in astrophotography. Dark skies far from city lights yield the best results, reducing light pollution that can obscure celestial details. National parks or remote rural areas are often ideal spots.
Tools like light pollution maps can help identify suitable locations. Consider also the foreground compositions and ambient conditions, such as weather forecasts, to plan your photography sessions effectively.
Subject
The subject of your astrophotography can be as varied as the night sky itself, ranging from the Milky Way to specific constellations or even the moon and other planets. Your choice will influence your approach and settings.
Begin with visible, known formations—this not only makes capturing them easier but also affords a satisfying starting point from which to explore more challenging celestial phenomena.
Camera Shooting Mode
Manual shooting mode is essential in astrophotography. Automatic settings often misinterpret the low-light environment and fail to capture the necessary details for high-quality night sky images.
Manual mode allows you more control over shutter speed, aperture, and ISO settings, each of which interacts to determine the final output of your astrophotography shot.
Aperture
Aperture affects how much light your camera sensor receives. In astrophotography, a wider aperture (lower f-stop numbers like f/2.8) is generally preferable, allowing maximum light intake.
However, be cautious of using too wide an aperture, as it can result in out-of-focus stars towards the edges of your image. Experimentation with different settings can help pinpoint the optimal aperture for your lens.
Image File Type
Shooting in RAW format is crucial in astrophotography. RAW files contain more data than JPEGs, providing greater latitude in post-processing, which is often necessary when enhancing astrophotographs.
This flexibility is beneficial for adjusting shadows, highlights, and overall exposure without degrading image quality, ensuring your celestial images remain sharp and vibrant.
Shutter Speed
Long exposures are key in capturing stars and other celestial elements. Shutter speeds often range from a few seconds to several minutes, depending on the desired effect, such as star trails or motion capture.
A good starting point is the 500 rule, which helps determine the maximum exposure time before stars begin to streak, calculated by dividing 500 by your lens’s focal length.
ISO Sensitivity
ISO represents your camera’s sensitivity to light. In dark conditions, a higher ISO is used, though it can introduce noise if set too high. Balancing ISO with aperture and shutter speed is crucial.
Modern cameras offer improved noise reduction technologies, allowing photographers to achieve cleaner images at higher ISOs, making it possible to capture clear, bright stars.
Focusing in the Dark
Focusing in low-light can be challenging but is vital for sharp images. Manual focus using Live View and zoom functions is often recommended over autofocus, which struggles in the dark.
Focus on a bright, distant star or a similarly far-off bright object, adjusting until clarity is achieved. This might require patience and practice but is key to high-quality astrophotographs.
Foreground
Including a foreground element can add perspective and interest to your astrophotographs, creating a sense of scale and depth. This could be a silhouette of trees, mountains, or man-made structures.
Careful composition is necessary to balance the celestial and terrestrial components of your image, often requiring creative framing and viewpoint exploration.
Reflections
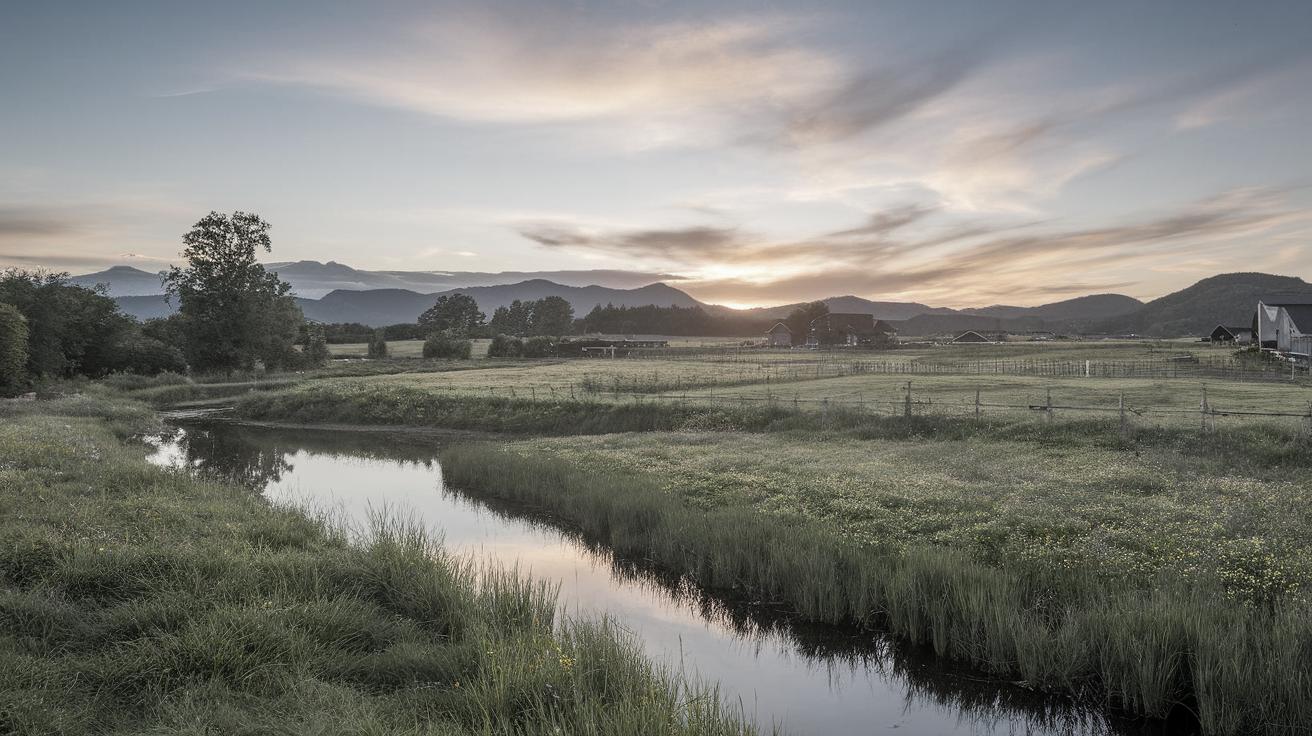
Reflections offer a dramatic addition to astrophotographs. Using bodies of water like lakes or rivers can mirror the sky, doubling the spectacle of the celestial display.
This technique works best in calm weather with little wind, ensuring the water remains sufficiently still to create clear, distinct reflections complementing the starry sky.
White Balance
Setting the proper white balance can enhance the color accuracy of your night sky photos. Although the ‘Auto’ setting is generally effective, manually adjusting to ‘Daylight’ or ‘Tungsten’ can produce better results.
Experiment with different settings during post-processing, as white balance can significantly affect the mood and realism of your astrophotography captures.
Get the Space.com Newsletter
Staying informed about upcoming celestial events, astrophotography tips, and the latest technology updates helps continuously improve your skills. A subscription to newsletters like Space.com offers invaluable resources at your fingertips.
Such subscriptions can provide insights into the latest breakthroughs, inspiring new projects and ensuring you are always at the forefront of astrophotography developments.
Camera Bodies and Lenses
Choosing the right camera body and lens is foundational for astrophotography success. Full-frame cameras generally perform better in low-light conditions, providing larger sensors and higher-quality images.
Wide-angle lenses with a fast aperture are often recommended, as they capture more sky area and detail, allowing more light capture during long exposures.
Additional Equipment for Astro
Beyond the essentials already discussed, other tools like star trackers can enhance your astrophotography. These devices counteract Earth’s rotation, allowing for longer exposures without star trails.
Additionally, post-processing software is a critical investment, enabling detailed refinement of RAW images to bring out the best in your celestial captures.
Planning Your Astro Shoot
Planning is as important as the shoot itself. Use sky chart apps to predict celestial movements and plan your sessions to coincide with new moons for deeper, clearer skies.
Consider the weather and lunar cycle, always positioning your shoot to maximize visibility and reduce natural light pollution affecting your astrophotography.
Astrophotography Settings for Your Camera
Settings vary widely but generally, start with a wide aperture, a shutter speed based on the 500 rule, and an ISO that balances light sensitivity with noise management.
Continuous adjustments and test shots are vital until the right balance is struck for your specific conditions, location, and subject preference.
Tips and Advice
Patience and practice are the most valuable tools in astrophotography. Experiment with different techniques and compositions to develop your unique style.
Collaborate with fellow astrophotographers for shared insights, and always remain open to learning and adapting to new methods or technological advancements in the field.
Future Prospects
| Aspect | Details |
|---|---|
| Equipment | Sturdy tripod, remote shutter release, intervalometer, headlamp |
| Environment | Dark locations, minimal light pollution, careful planning |
| Camera Settings | Manual mode, wide aperture, proper ISO, long shutter speed |
| Camera Choices | Full-frame body, wide-angle lens, shoot in RAW format |
| Elements of Interest | Foreground elements, reflections, celestial details |
| Educational Resources | Newsletters, apps, and community interaction |