How to Shoot in Manual Mode Like a Pro
Shooting in manual mode can be both daunting and exciting for photographers looking to elevate their skills. This comprehensive guide will demystify the fundamentals of manual shooting. From understanding camera exposure to setting your camera to manual mode, selecting the right white balance, and choosing the appropriate metering mode, you’ll learn how to masterfully manipulate your camera settings. By the end of this guide, you’ll be equipped to take control of your photographic process and capture stunning images with confidence. Get ready to unlock the full potential of your camera and start shooting like a pro.
Camera Exposure
Understanding exposure is crucial when shooting in manual mode. Exposure determines how light or dark an image appears, and it’s controlled by three main settings: aperture, shutter speed, and ISO. Aperture affects the depth of field and how much light enters the lens. A lower f-number means a larger aperture, allowing more light and creating a shallow depth of field, which is ideal for portraits.
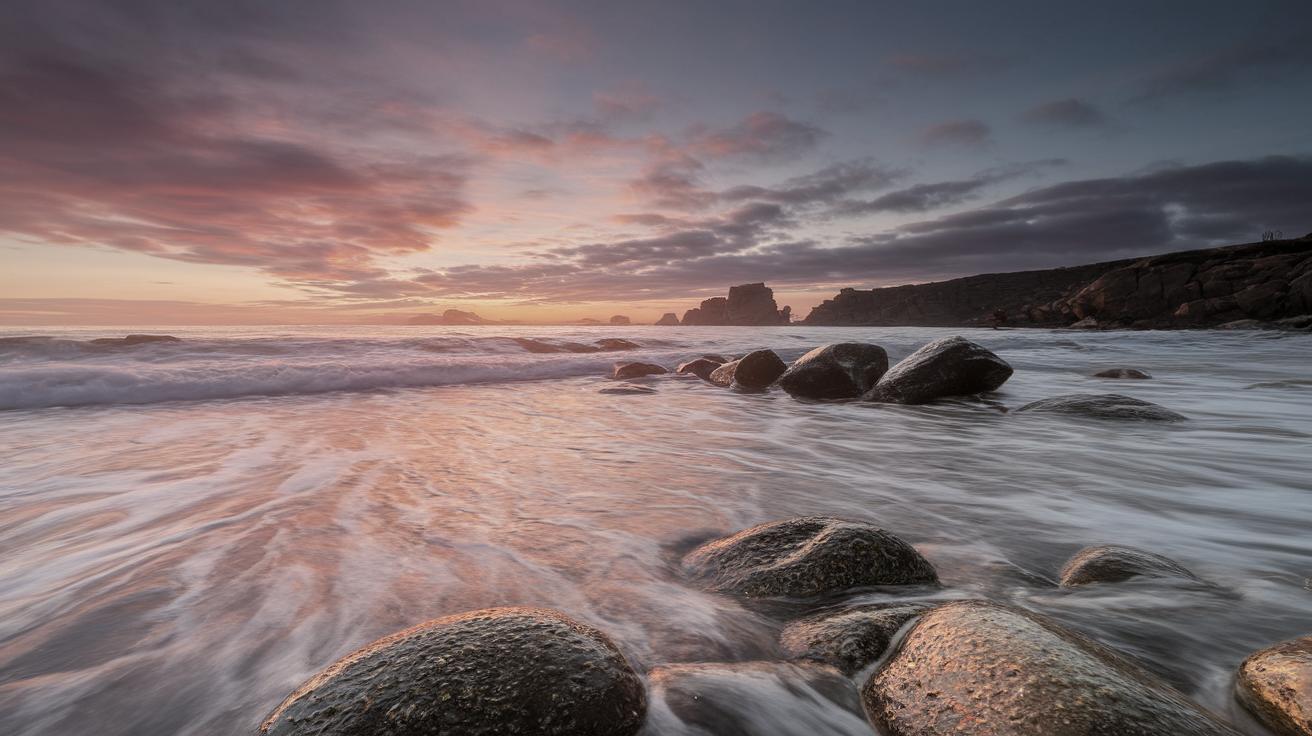
Shutter speed dictates how long your camera’s sensor is exposed to light. A fast shutter speed freezes motion, while a slow shutter speed can create motion blur, beneficial for artistic effects or low-light situations. ISO measures the sensor’s sensitivity to light. A higher ISO is helpful in darker environments but can introduce noise. Balancing these settings is key to achieving the desired exposure and mood in your photos.
Set Your Camera to Manual Mode
Switching to manual mode grants you full creative control over your photographs. To set your camera to manual mode, turn the mode dial to ‘M’. This allows you to adjust aperture, shutter speed, and ISO independently. Initially, making these adjustments might feel overwhelming, but with practice, you’ll become more intuitive in assessing lighting conditions and determining the correct settings.
Start by considering the environment you’re shooting in and the effect you want to achieve. If you need to freeze motion, prioritize shutter speed. For a specific depth of field, adjust the aperture. Your ISO should be the last adjustment to illuminate your image without introducing unnecessary noise. Experimentation is key; try different settings to see how they affect the final image.
Set Your White Balance
White balance settings control the color tone of your photos, ensuring colors appear natural under different lighting conditions. Cameras usually offer several presets such as daylight, cloudy, tungsten, and fluorescent, each compensating for the specific color cast of a light source. Properly setting white balance is essential for avoiding unnatural color shifts.
While automatic white balance is convenient, manual adjustments can more accurately capture the true colors of your scene. For greater precision, consider using a custom white balance setting, especially when dealing with mixed lighting. To further refine your skills, experiment with white balance adjustments in post-processing software like Adobe Lightroom.
Set Your Metering Mode
Metering modes help your camera evaluate the light in a scene to determine the optimal exposure settings. Common modes include evaluative (or matrix), center-weighted, and spot metering. Evaluative metering considers the entire scene and is often a safe all-purpose choice. Center-weighted metering gives priority to the center of the frame, useful for portraits.
Spot metering only considers a small area of the frame, ideal for high-contrast scenes where you want to ensure specific areas are correctly exposed. Knowing when to switch between these modes can help you tackle challenging lighting conditions. Practicing with different metering modes will enhance your understanding of how light interacts with your subject.
Putting it All Together
Mastering manual mode involves integrating your knowledge of exposure, metering, and white balance. Start by assessing the scene, deciding what elements are most crucial to capturing the essence of your subject. Adjust your aperture, shutter speed, and ISO to achieve the desired exposure. Pay attention to your metering mode and adjust your white balance to suit the lighting.
As you gain confidence and experience, manual adjustments will become second nature. Review your photos and learn from any exposure mistakes. Don’t hesitate to experiment beyond conventional settings to discover your style. Photography is as much about creativity as it is about precision, so allow yourself the space to explore and innovate.
Related Articles
-
Understanding the Exposure Triangle
-
The Best Lenses for Portrait Photography
-
Advanced Composition Techniques
-
Post-Processing Tips for Stunning Photos
Future Prospects
| Element | Description |
|---|---|
| Camera Exposure | Balancing aperture, shutter speed, and ISO for desired light and mood. |
| Manual Mode | Taking full control of camera settings for creative freedom and precision. |
| White Balance | Adjusting color tones to match the lighting conditions for natural-looking photos. |
| Metering Mode | Selecting the right metering for accurate exposure in various lighting environments. |
| Integration | Applying knowledge of all settings to capture the essence of the subject. |